When you buy used subwoofers in volume, you cannot afford to guess. A subwoofer that looks fine in photos can have a blown voice coil, a cracked cone, or a fatigued spider. This guide walks you through the checks that matter, using only basic tools and your ears.
1. Visual Inspection: Look for the Obvious
Start with a thorough visual inspection. Remove the grille if possible. Check the cone for tears, creases, or repairs. Look at the surround (the ring that connects the cone to the frame) for cracks or separation. Inspect the spider (the corrugated material behind the cone) for sagging or tears. Push the cone gently with your fingers—it should move smoothly without scraping. If you hear a scratching sound, the voice coil is likely rubbing.
Examine the frame for cracks or bends. Check the terminals for corrosion or loose connections. Look at the magnet for signs of overheating, such as discoloration or a burnt smell. If the subwoofer has a built-in amplifier, inspect the controls and input jacks for damage. For a detailed checklist that applies to many speaker types, see our used line array inspection checklist.
2. Test the Voice Coil with a Multimeter
Set your multimeter to the lowest resistance (ohms) setting. Touch the probes to the subwoofer’s terminals. You should read a DC resistance close to the nominal impedance—for example, a 4-ohm subwoofer might read 3.2 to 3.8 ohms. If the reading is infinite (open circuit), the voice coil is broken. If it is significantly lower than expected, the coil may be shorted. Compare left and right units if you are testing a pair; they should read within a small tolerance of each other.
Also test for a short to the frame: touch one probe to a terminal and the other to the metal frame. You should get no reading. Any continuity indicates a short that could damage your amplifier.
3. Listen for Mechanical Noise
With no power applied, gently push the cone in and out. Listen for scraping or rubbing. Then, use a small battery (like a 9V) to momentarily touch the terminals. You should hear a soft pop and see the cone move. Reverse the polarity and repeat. If the cone moves in only one direction or makes a harsh noise, the suspension may be damaged.
For a more thorough check, connect the subwoofer to a low-power amplifier and play a sine wave sweep at low volume. Start at around 30 Hz and sweep up to 100 Hz. Listen for buzzing, rattling, or distortion. These could indicate a loose dust cap, a damaged spider, or a voice coil issue.
4. Power Handling and Impedance Checks
If the subwoofer has a built-in amplifier, power it on and check all controls. Test the gain, crossover, and phase switches. Listen for hum or noise with no input signal. If possible, play music at moderate levels and listen for distortion or clipping. For passive subwoofers, ensure the impedance matches your amplifier’s capabilities. Running a 2-ohm load on an amplifier rated for 8 ohms can cause overheating and failure.
Remember that used subwoofers may have been driven hard. Even if they pass basic tests, they might not handle full power reliably. Our guide on buying used PA subwoofers covers more on power matching and system integration.
5. Check the Enclosure and Cabinet
The cabinet is part of the subwoofer’s performance. Inspect for cracks, water damage, or swollen particle board. Knock on the cabinet—it should sound solid, not hollow or rattly. Check the ports for debris or obstructions. If the subwoofer is ported, ensure the port tube is secure and not cracked. For front-loaded subs, the grille should fit tightly and not vibrate.
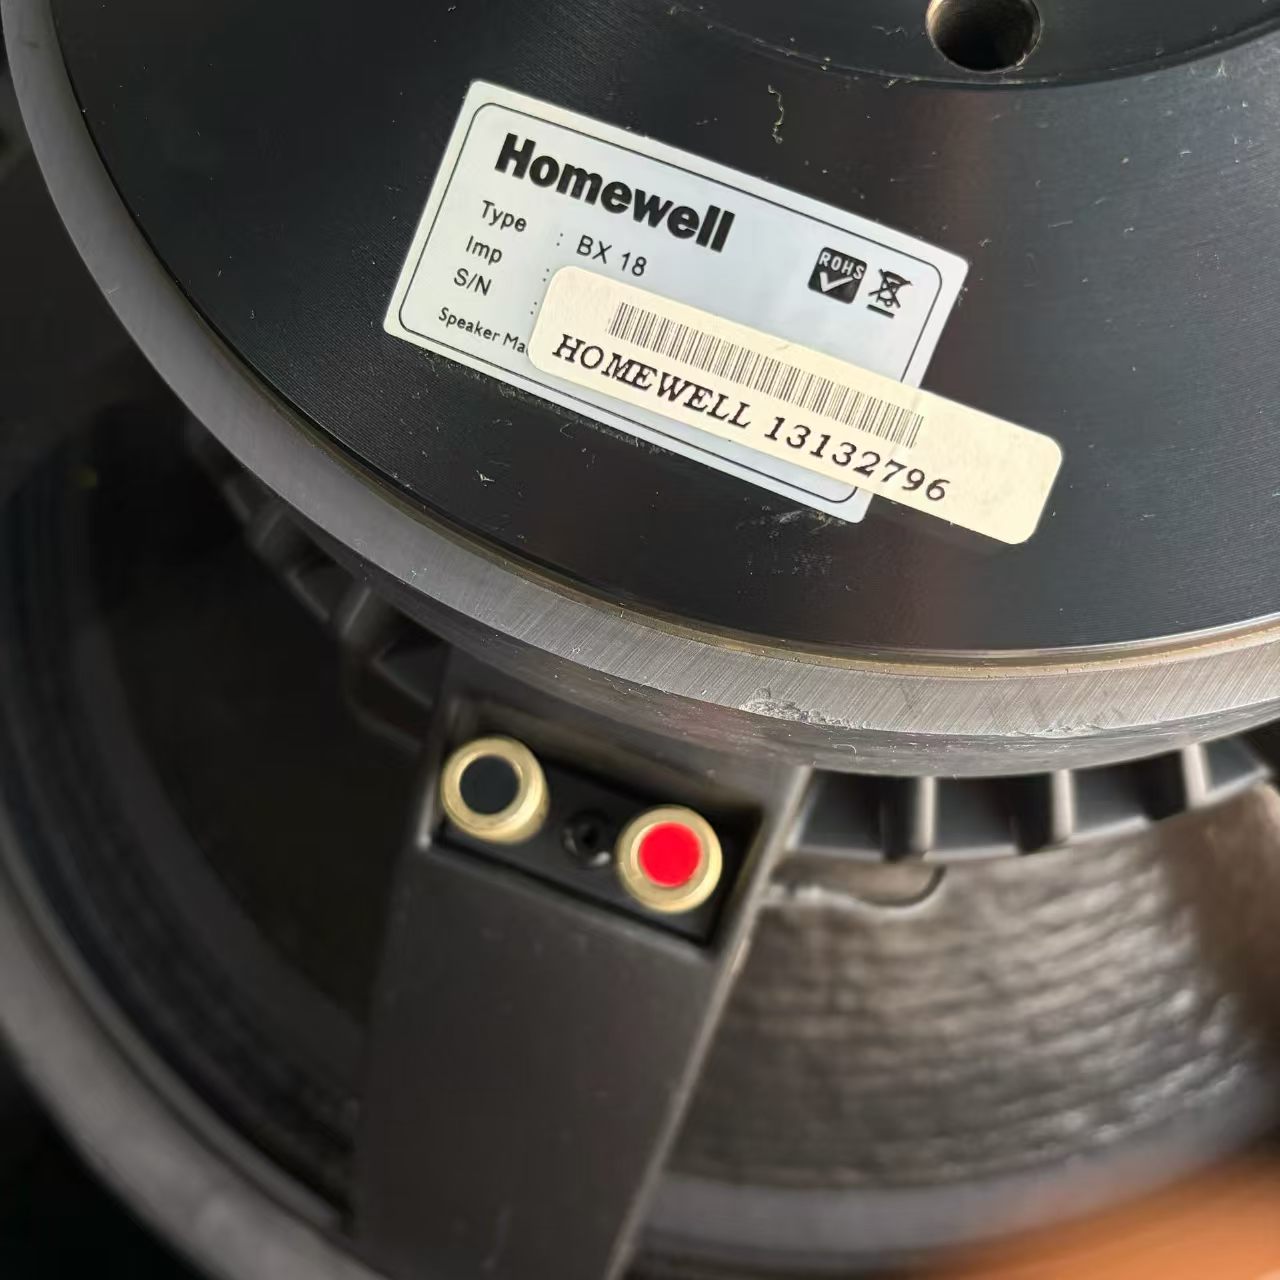
If the subwoofer has handles or casters, test their strength. A broken handle can be a safety hazard when moving heavy cabinets. For models like the Homewell BX18, which is popular in KTV and club applications, check the cabinet corners and edges for impact damage.
6. Test in a Real System
The ultimate test is to connect the subwoofer to a system similar to yours. Play familiar music with strong low-frequency content. Listen for clean, tight bass. If the subwoofer sounds muddy, distorted, or weak, it may have issues that only appear under load. Compare it side-by-side with a known-good subwoofer if possible.
For KTV or club systems, test at the levels you expect to use. A subwoofer that sounds fine at low volume might fail when pushed. If you are buying multiple units, test each one individually—do not assume they all work because one does.
7. Document and Negotiate
Before you commit, document the condition of each subwoofer. Take photos and notes. If you find minor issues like a dented grille, use that to negotiate. But if you find major problems like a blown driver, walk away unless you can replace the driver at a reasonable cost. Remember that used equipment is sold as-is, so your inspection is your only protection.
For more advice on buying used subwoofers in pairs, see our used subwoofer pair guide. If you are sourcing for KTV, our used KTV speaker buying guide covers additional considerations.